 |
 |
 |
 |
 |
 |
 |
 |
|
Diorama Junkers Ju 52 ... |
built by Christian Jakl (1/48) |
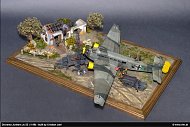
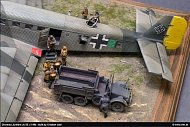
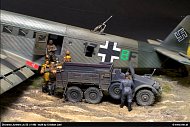
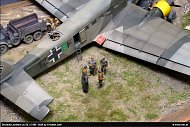
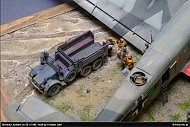
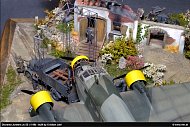
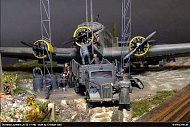
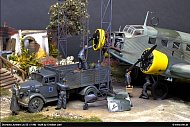
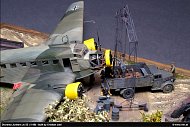
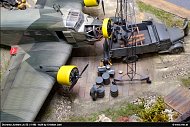
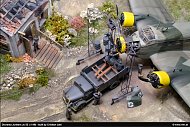
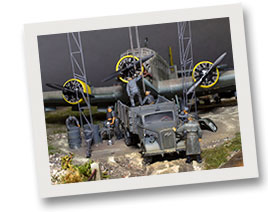 It is not the purpose of this article to go into the technical history of the JU-52 since a lot has been written about it already and I decided to go more into the building of this project. Almost everything you see in this diorama was conceived accidentally. I should mention that the decal sheet was purchased from AIM and fits this version which should read “somewhere in the Balkans, May 1941”. During 2007 my cellar flooded and a lot of my un-built, stacked up models were literally swept away. What remained was a stack of sprues of different aircraft and soaked decals. There also was a pile of mud-covered boxes and instruction sheets. Amongst this mess were two kits of JU-52’s, one civil and one military version JU-52/3m. Both were far from complete but enough to build one JU-52. This then was my start. The instructions I downloaded from the Internet. New decals were ordered. A few remarks about the Revell kit are in order here. Despite its age, the surface and other details compare favorably with contemporary kits. I detailed the kit with the following CMK detail sets. JU-52/3m interior set # (4043), engine set # (4044) and exterior set #(4061). These all had to be freed from a layer of mud and believe me, etched parts will rust. The JU-52 goes together very well even when one uses two kits and now and then one notices some parts of the the civilian version. The CMK parts fit the Revell kit perfectly. The camouflage, according to the instruction sheet, was rather rare. This machine was flown by IV. Gruppe Stab/KG.z.b.V.1, RLM 65, 70, 71 and RLM 02. In addition there was a yellow fuselage band in RLM 04. Large markings like the Maltese crosses were airbrushed since application of large decals on the corrugated metal would be risky. |
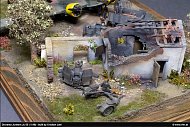
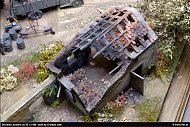
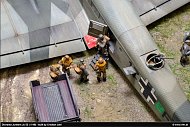
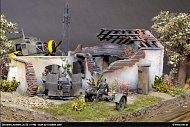
Only after I completed the model did I start with the diorama. The base is 80cm long and 60 cm wide and despite that, the aircraft wings stick over the edge of the base. That is why I built the model first so I can see how much space is left when I place it on the base. Then I started. Everything I had and I mean literally everything was used in the build. The house for instance was also a flood victim, made up of many resin pieces just stuck together. Floors, ceilings and the roof were fashioned from wood. All roof tiles and paving stones are ceramic parts from Plusmodel. With that I finished the large parts and was now ready to concentrate on the small details. The diorama begins to take shape with each part completed and takes on character with each small detail. The vehicles were assembled before the groundwork was put in, because you need accurate tire tracks before the groundwork dries. For ground work I always use fine sand mixed with carpenters glue and I spread it out a few centimeters at a time. For this operation I always use a brush and work very carefully. Overnight this mixture hardens rock hard and tire impression should therefore be made before the mixture sets. The crane is from Extra Tech and was built towards the end of diorama construction to see how it fits into the overall scene. Vegetation was added from the model railroad world. A lot I collected myself from the great outdoors. If you see anybody in the Tyrolian woods pulling plants from rocks that could be me. I also glue plants with the same glue because it dries slowly and transparent. Depth and height differences are very important whether it is hollowing out the groundwork for a puddle of water or building stairs. A flat surface is not enough and does not give an optically pleasing effect. Less is more. A corner can be very busy but there also has to be empty space. Add figures to the scene, some in conversation, some doing repairs and don’t bunch them up. Optical interest is achieved by showing that in every part of the diorama there is something different to see. Show different scenes by having some figure working and some in different activities. This was the first project where little money was spent. I had almost every thing lying around at home in boxes that were damaged. Instead of throwing it away I made something out of it. All leftover parts were utilized and it works fine if the necessary will is there. The project took a half a year ... |
|
|||||||||||||||||||||||||||||||||||||||||||
|
|
||||||||
| This page: GALLERY: Diorama Junkers Ju 52 (1/48), built by Christian Jakl was last modified on: Dec 04, 2014 The URL of the page is: http://www.rlm.at/cont/gal43_e.htm Translation into English by Werner Stocker (Ft. Myers, FL USA). © Copyright www.rlm.at and the contributing author(s). All Rights Reserved. Used with permission. Terms of use: All material within this site is protected under copyright and may only be reproduced for personal use. You must contact the Author(s) and/or Editor for permission to use any material on this site for any purpose other than private use! |
